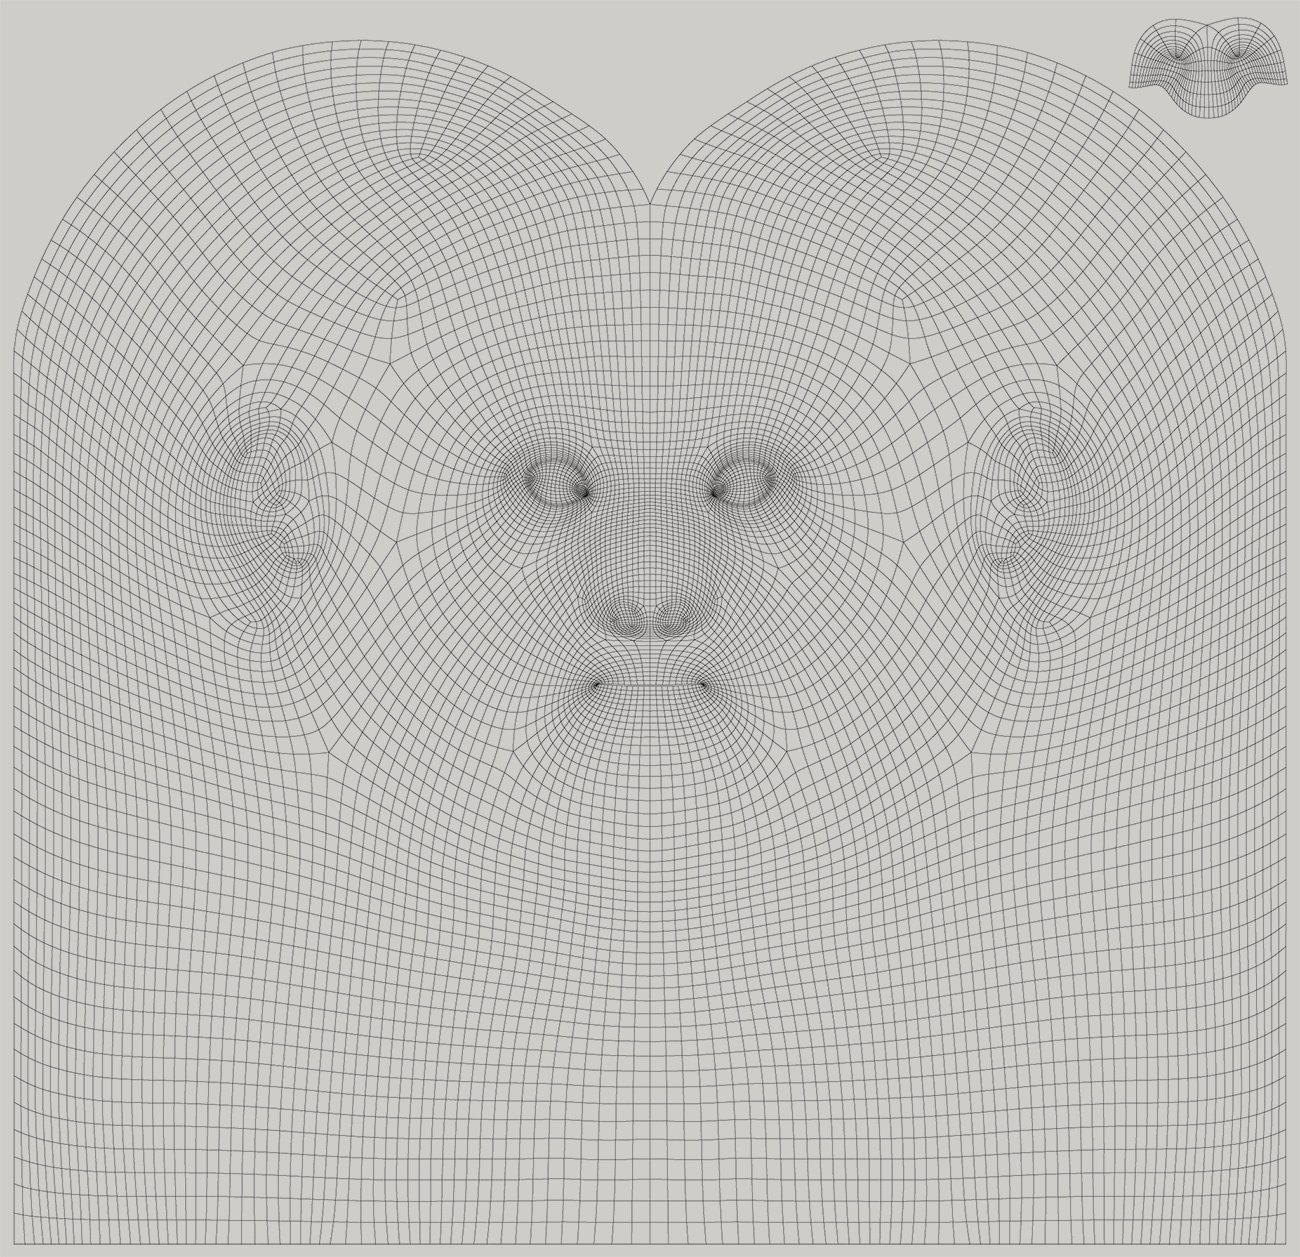
Step 1. Data Cleaning in ZBrush
As explained in previous post, a 3D mesh is generated out of either “Photogrammetry” or “3D Laser Scanning” and the first step after ingestion is to clean up the generated data. I used ZBrush for 3D data cleaning. The procedure I went through is as below:
- Import Photogrammetry data into ZBrush
- Import texture, flip and apply
- Skin Shader 4 works well for face
- Use ScanCleanUI interface for a more efficient working environment
- Check Mesh and Fix Mesh commands in ZBrush
- Display> Double
- Ctrl+Shift select a nice area, then Visibility> Grow All then Geometry>Modify>Del Hidden
- Geometry>Modify>Close Holes (if possible)
- Convert to Dynamesh. Blur=0, Project=On, Res=4096
- ZRemesh (Adapt=on and Count=5)
- Subdivide to the number of original Dynamesh
- Project back at each level
- Do a clean-up. Clean noise and hair using Mask By Smoothness
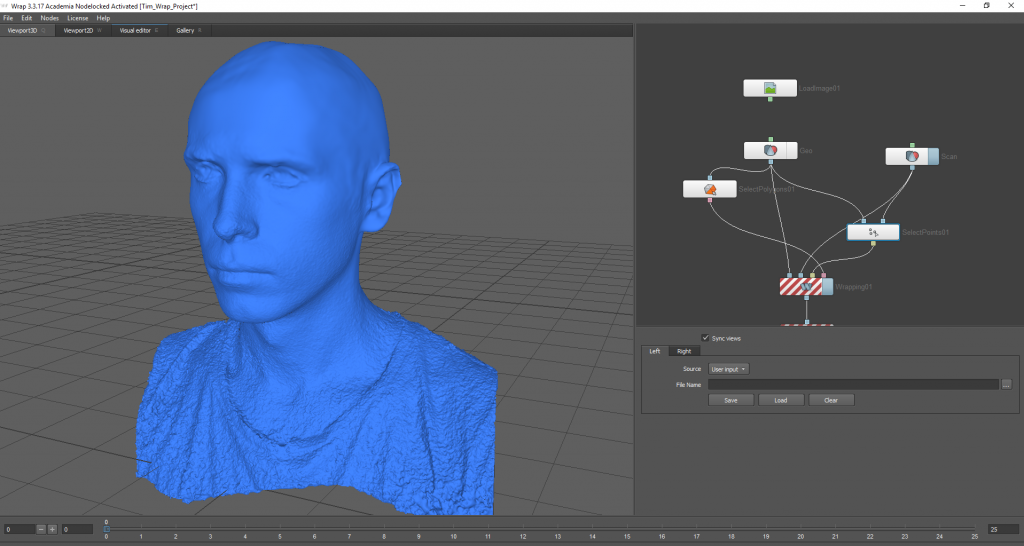
Step 2. Creating a Clean Topology Using Wrap3
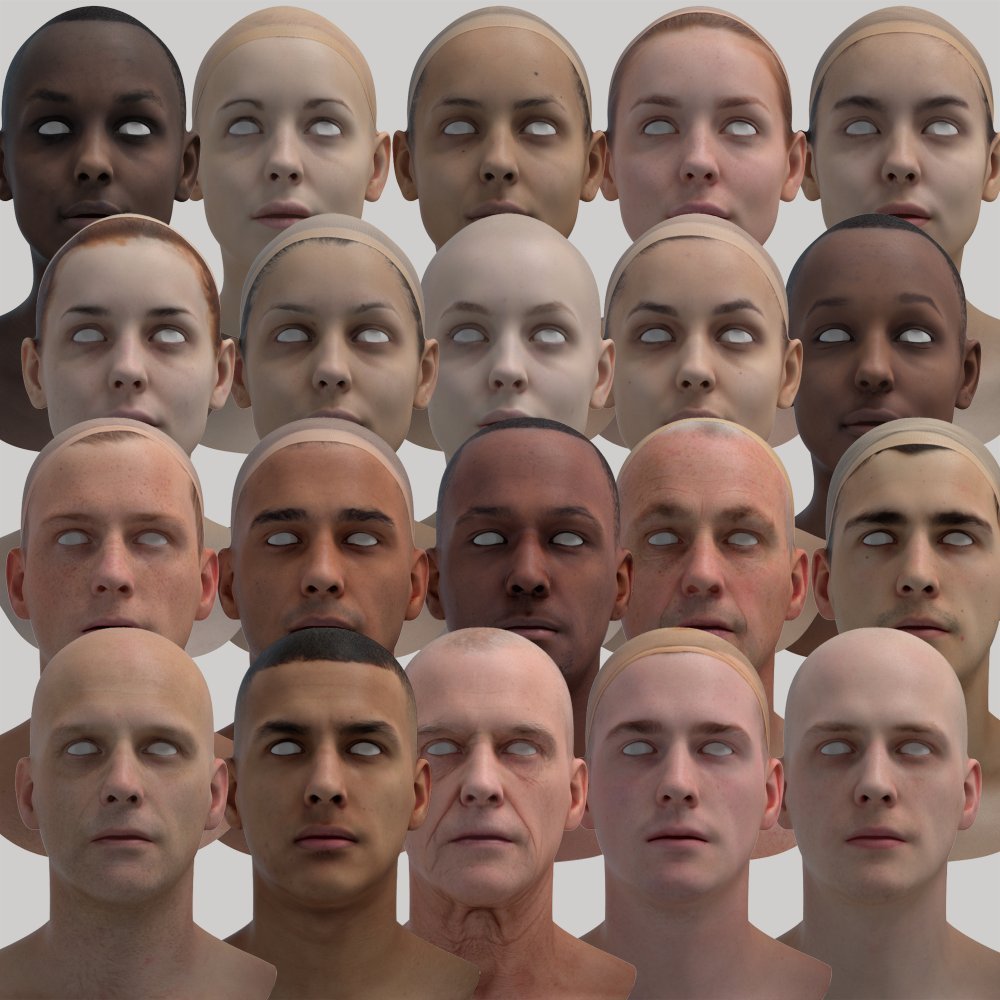
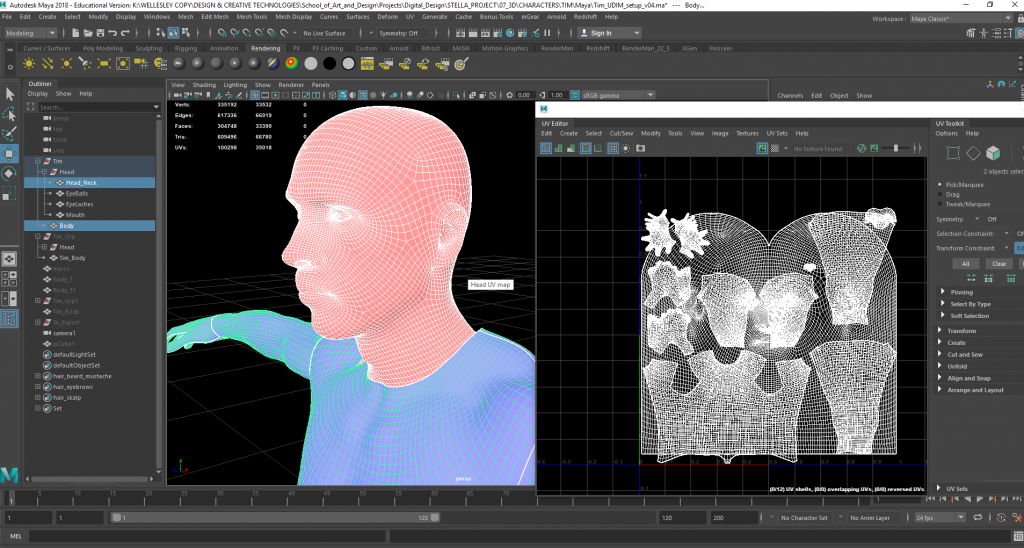
The generated out of either “Photogrammetry” or “3D Laser Scanning” is a very dense inefficient 3D geometry with millions of polygon so it is actually unusable for animating. To make them usable, I have to “retopologize” them. In other word, a new low poly mesh will be generated on top of the high poly scan data. The low poly mesh will have better directed polygonal topology that matches human face muscles. To speed up the process, I used 3DScanStore base meshes to start with. The base mesh is a retopologized realistic human head that has a nice polygonal structure and a well unwrapped UV map.
Head Base Mesh has 12410 polygons and Body Base Mesh has 32076 polygons (including head that will be be replaced). I try to keep these numbers intact so the resulting mesh would be inconsistent with the rest of the pipeline.
I send both base mesh (from 3DScanStore) and 3d photogrammetry mesh (from ZBrush) to a program called Wrap3. This program reshapes and “morphs” the base mesh to make it match the scanned data. In another word, a nicely retopologized head mesh is getting reshaped to look like scanned data, i.e. the actor. The procedure in Wrap3 is as below:
- Import 3DScanStore base head mesh (12410 polygons) and scanned data
- Base on right, Target on left
- Add SelectPoints and add adjacent points in both base and target
- Add Wrapping and compute
- Add SaveGeom
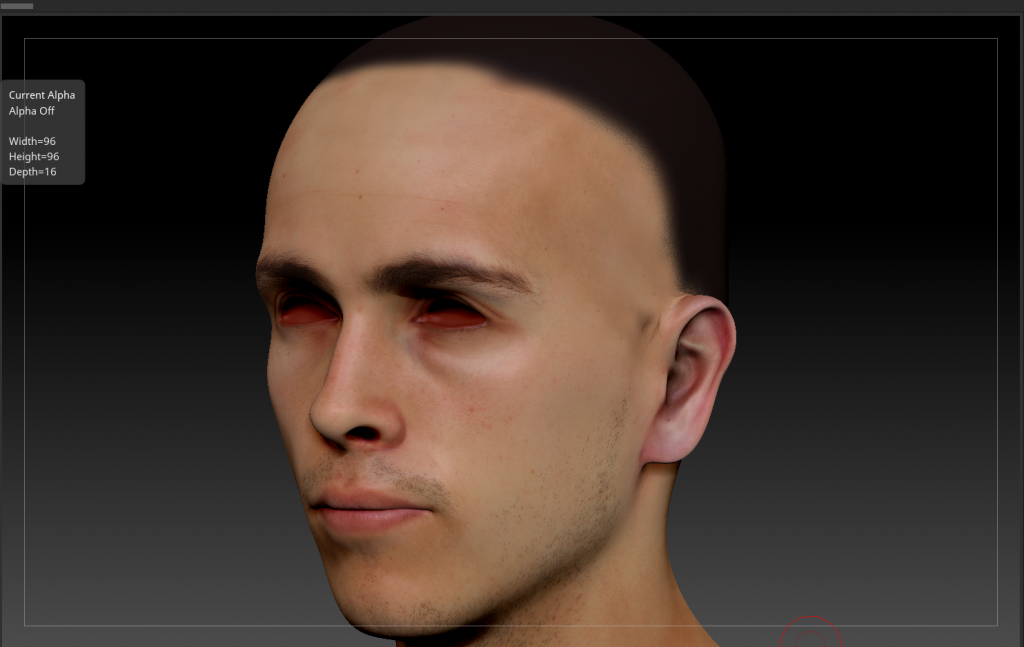
Step 3. Fine Tuning the Shape in ZBrush
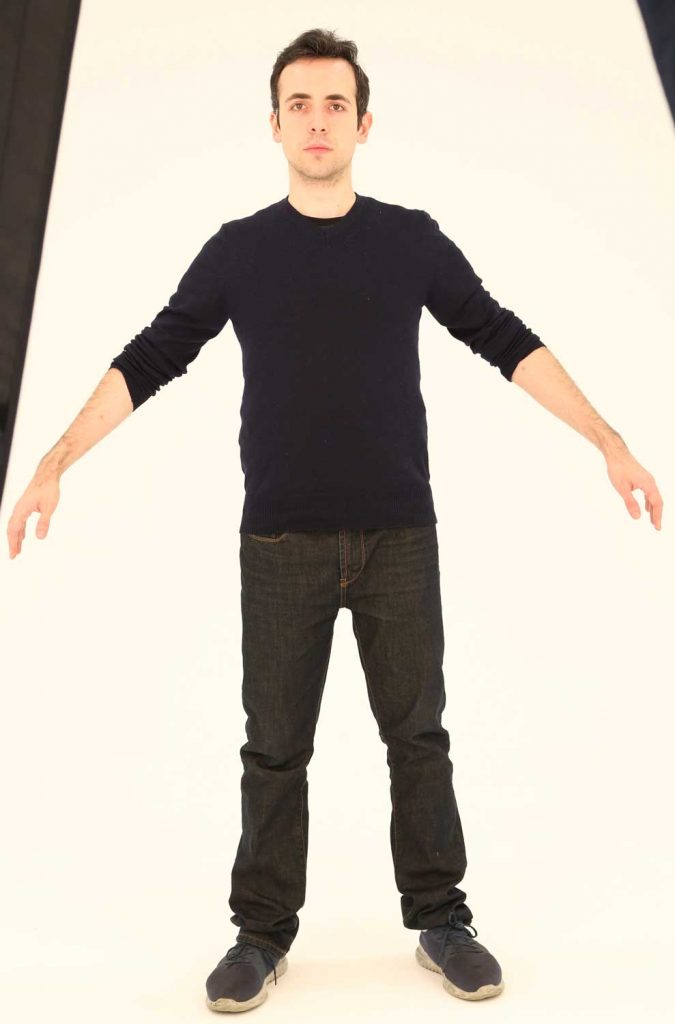
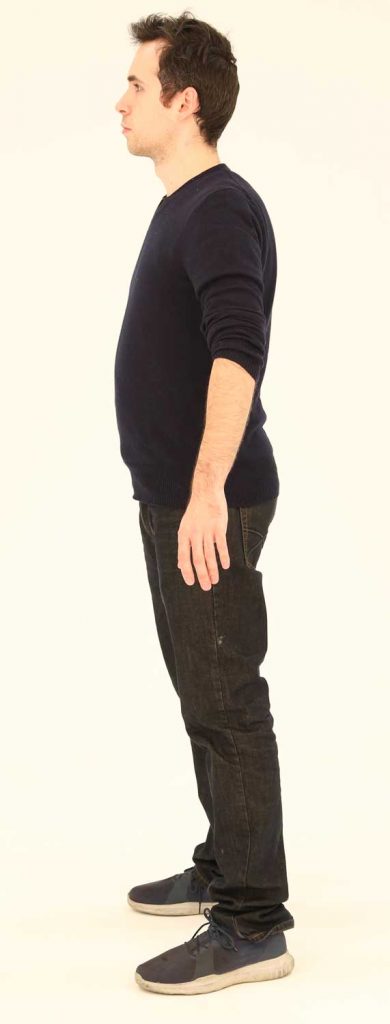
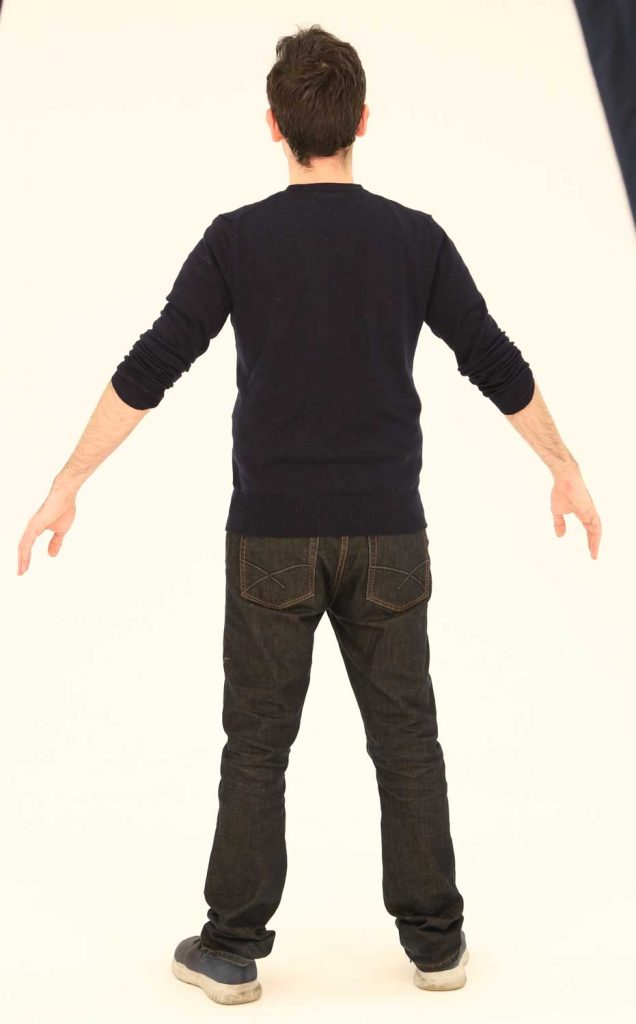
Basically I have to reshape and reformat head to the shape of original head. I use a lot of real life references at this stage to make the digital version as close as possible to the actual human face. I can use “project” tool in ZBrush sometimes as well.
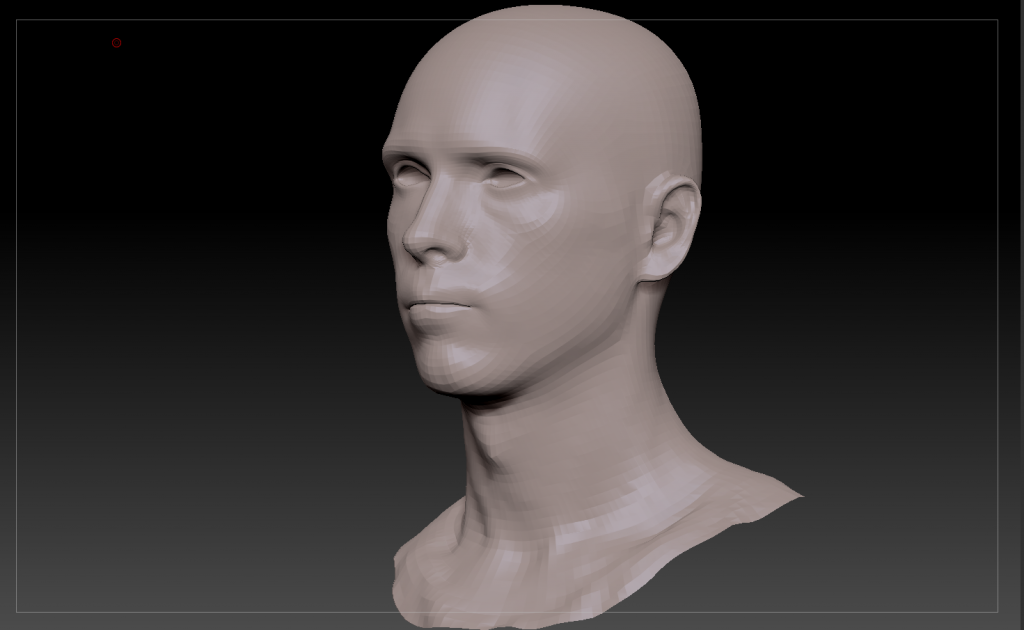
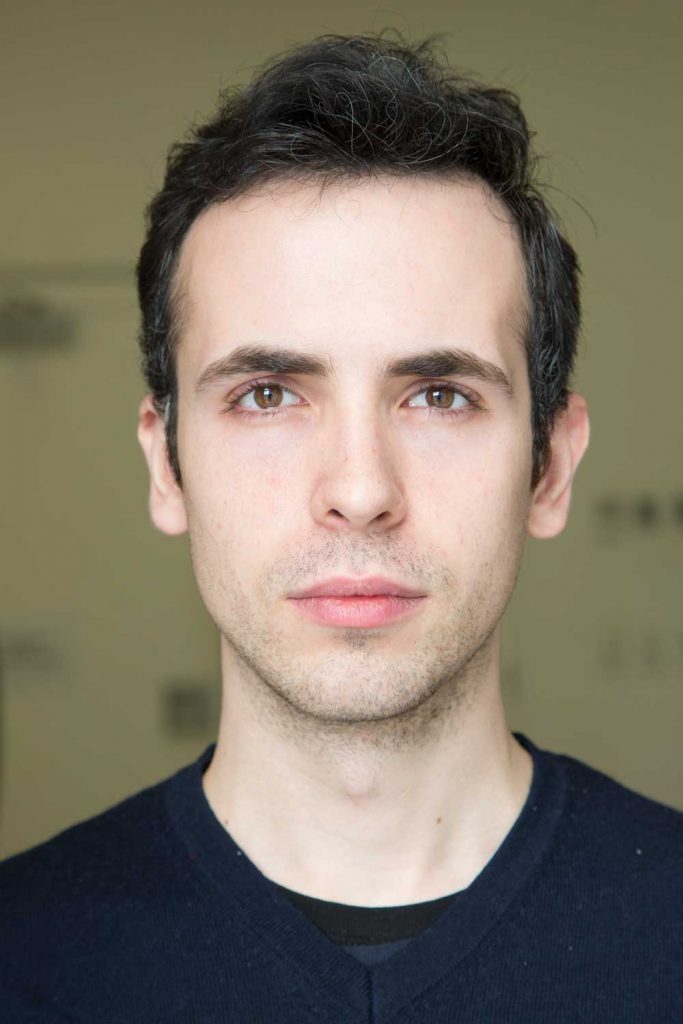
Photo reference used for sculpting and reshaping retopologized meshes. 
Photo reference used for sculpting and reshaping retopologized meshes.
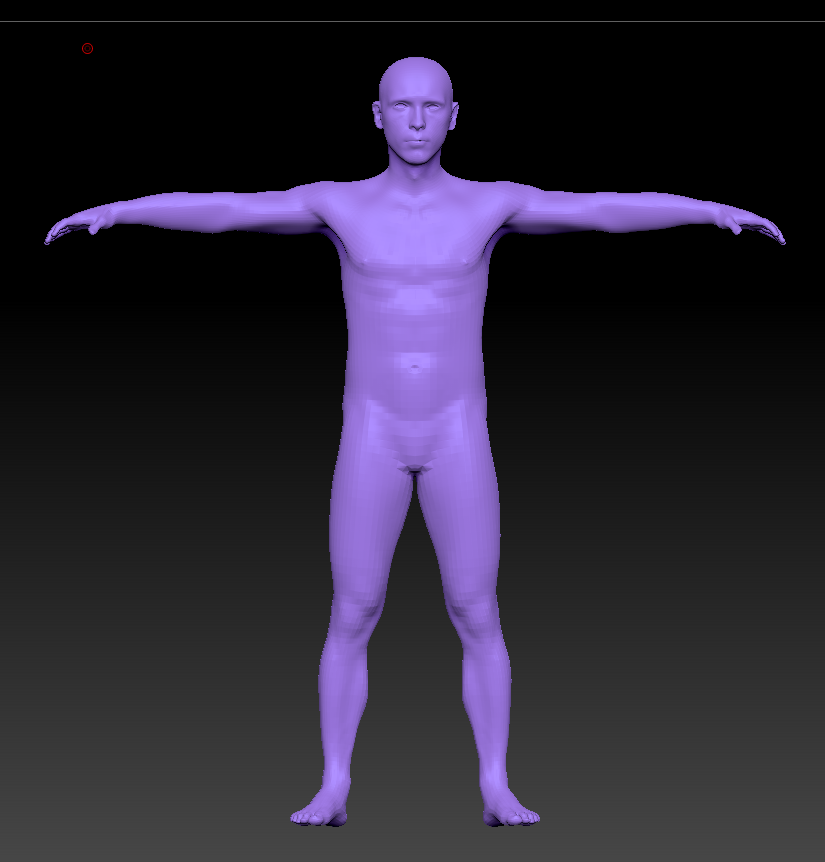
Step 4. Attaching the Head to the Body in Maya and ZBrush
I used 3DScanStore human body base mesh again for this stage. There is much less attention on body details than facial. A tiny flaw on face will be spotted immediately but for the body, as long as the approximate proportions would be achieved and specially as most of it is covered by clothing, then the process of generating a proper mesh for the body is streamlined. The procedure for attaching the body to the head is as below:
- Import wrapped head
- Import base body mesh
- Connect them together using “Union”
- Tweak body proportions in Maya using real life references
- Arrange UVs to make a UDIM
- Deepen eye sockets in Maya
- Send combined mesh to ZBrush and re-tweak it
- Send it back to Maya

Below there are some real life references I photographed and used it in modelling procedure.
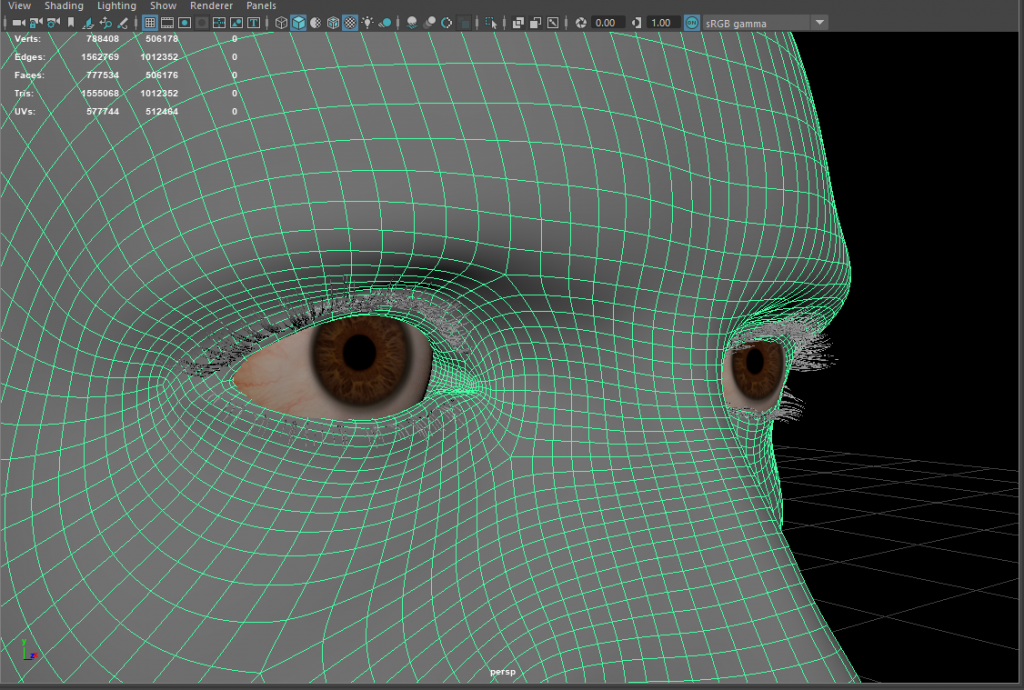
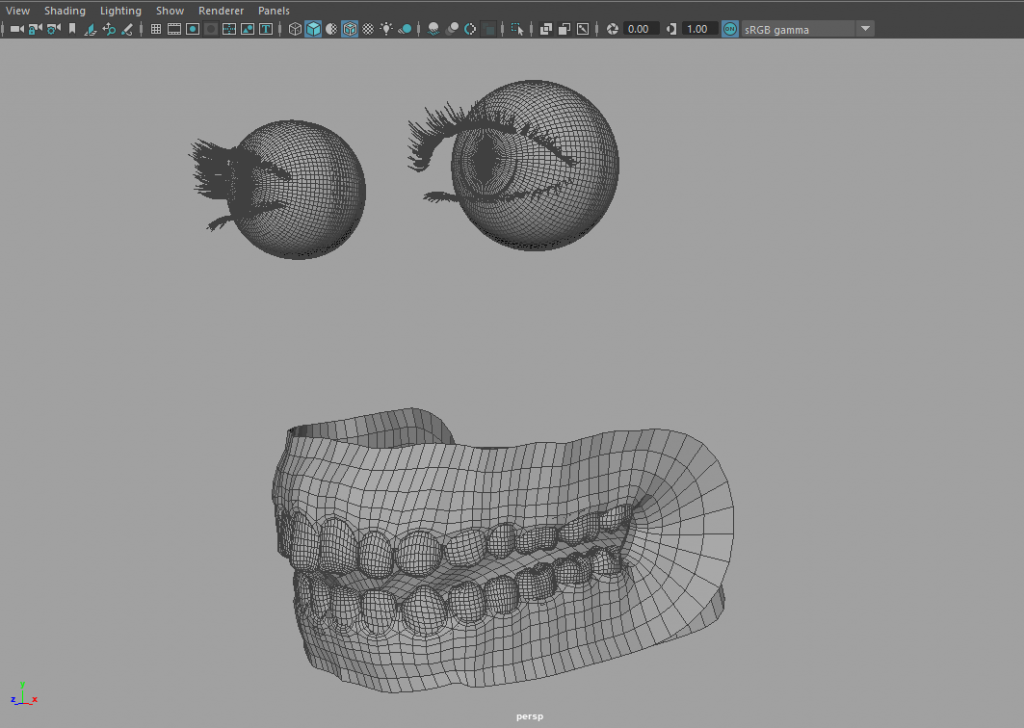
Step 5. Modelling Eyes, Eyelashes, Teeth and Tongue in Maya
Teeth and tongue are hidden parts and are revealed briefly only when the character talks. That is why most CG artists use a base tongue and teeth model and reshape and re-texture them when needed. I also used generic meshes for eyes, eyelashes, teeth and tongue. Re-positioning eyes and eyelashes needs some work. The eye colour can be easily adjusted by adjusting eye texture colour.
- Import base meshes for eyes and eyelashes, adjust them accordingly
- Adjust the colour of the body texture in Photoshop
- Adjust the colour of the eyes texture in Photoshop
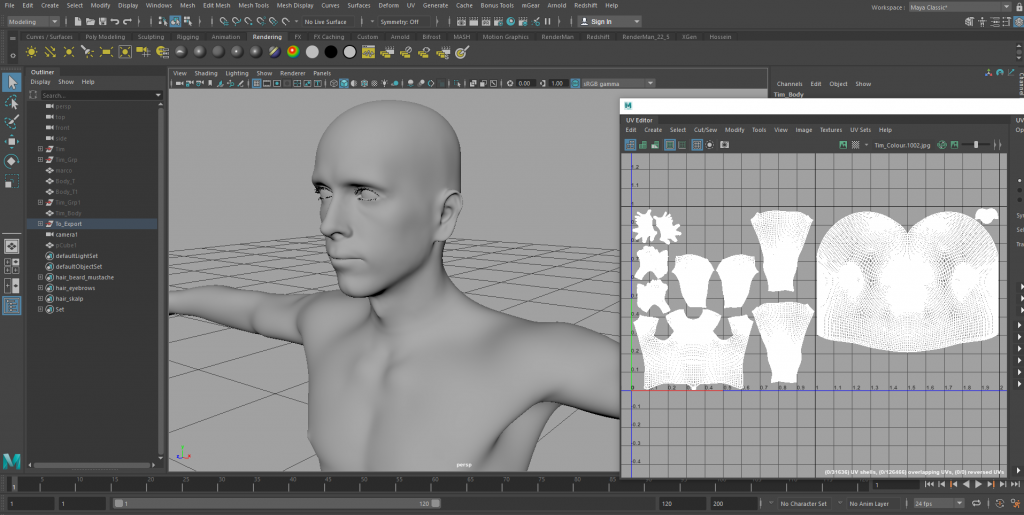
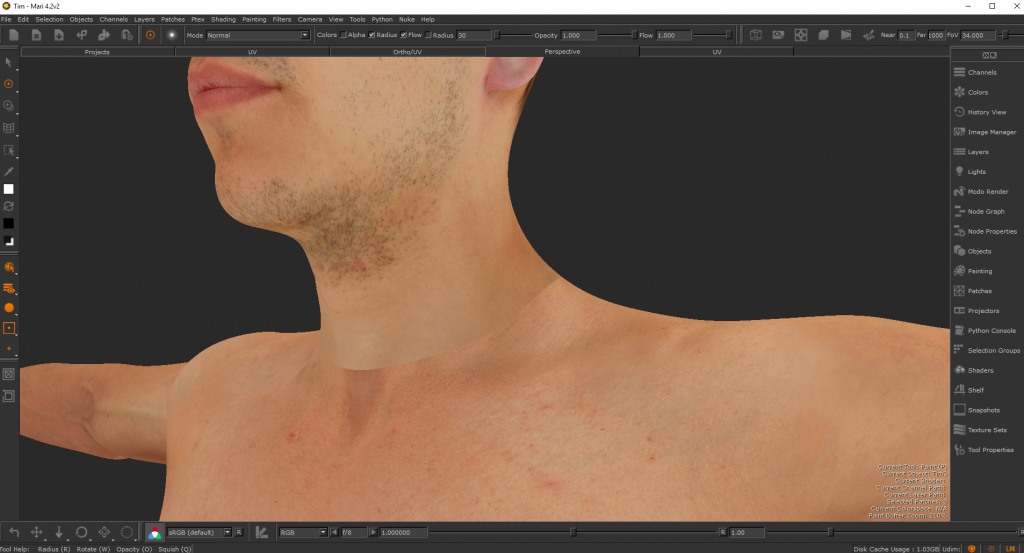
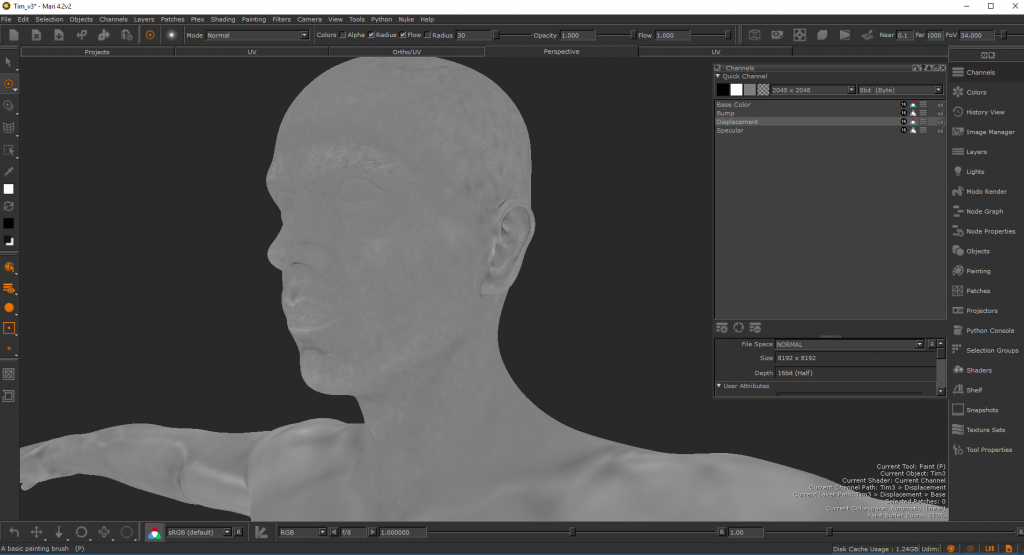
Step 6. Merging Head and Body Textures in Mari
The final stages of texturing will happen in a powerful texture painting program called Mari. As the head and body textures are two totally different sources, a lot of adjustment is required to make them merge seamlessly. First the tone and colour tonality has to be matched. So far a couple of adjustments has be done in Photoshop but the final stage of colour adjustment can be done in Mari. Then using “clone tool” in Mari, the textures around the attachment area of the body and neck will be merged.
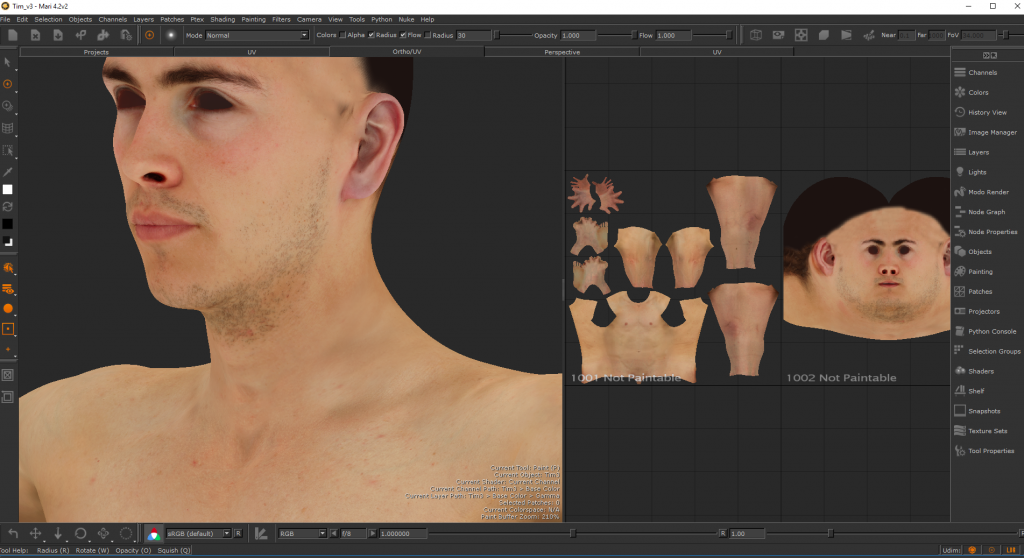
Colour channel is not the only channel that needs to be painted and merged. A very important channel that will be used in shading as well is “Displacement Channel” which defines pores and geometrical height variation of skin details. As shown below, displacement map is also texture painted in Mari. Both body and head bases come with a default displacement map which has to be painted according to the character features and also has to be integrated like colour map.
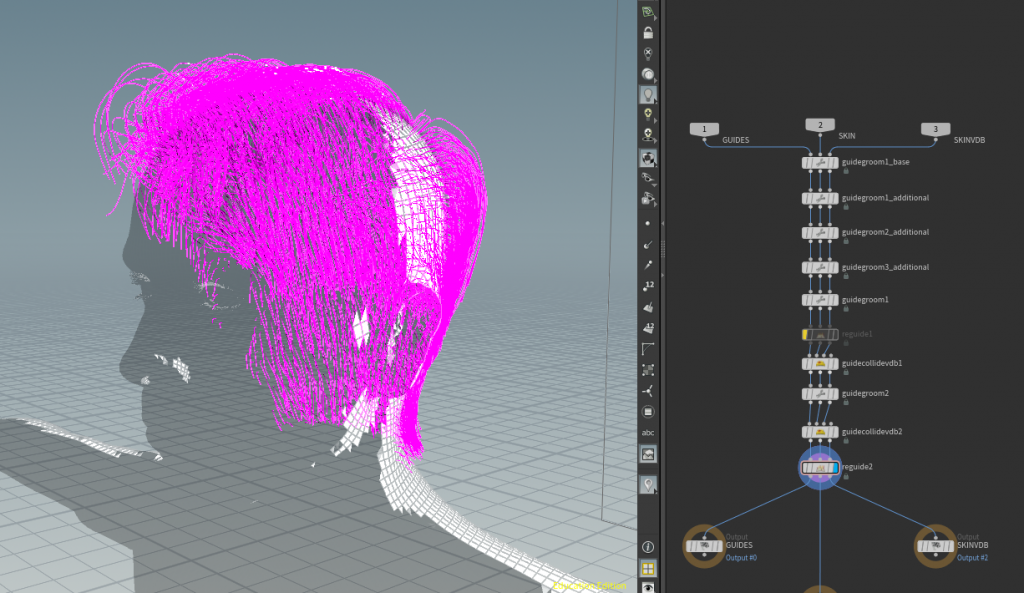
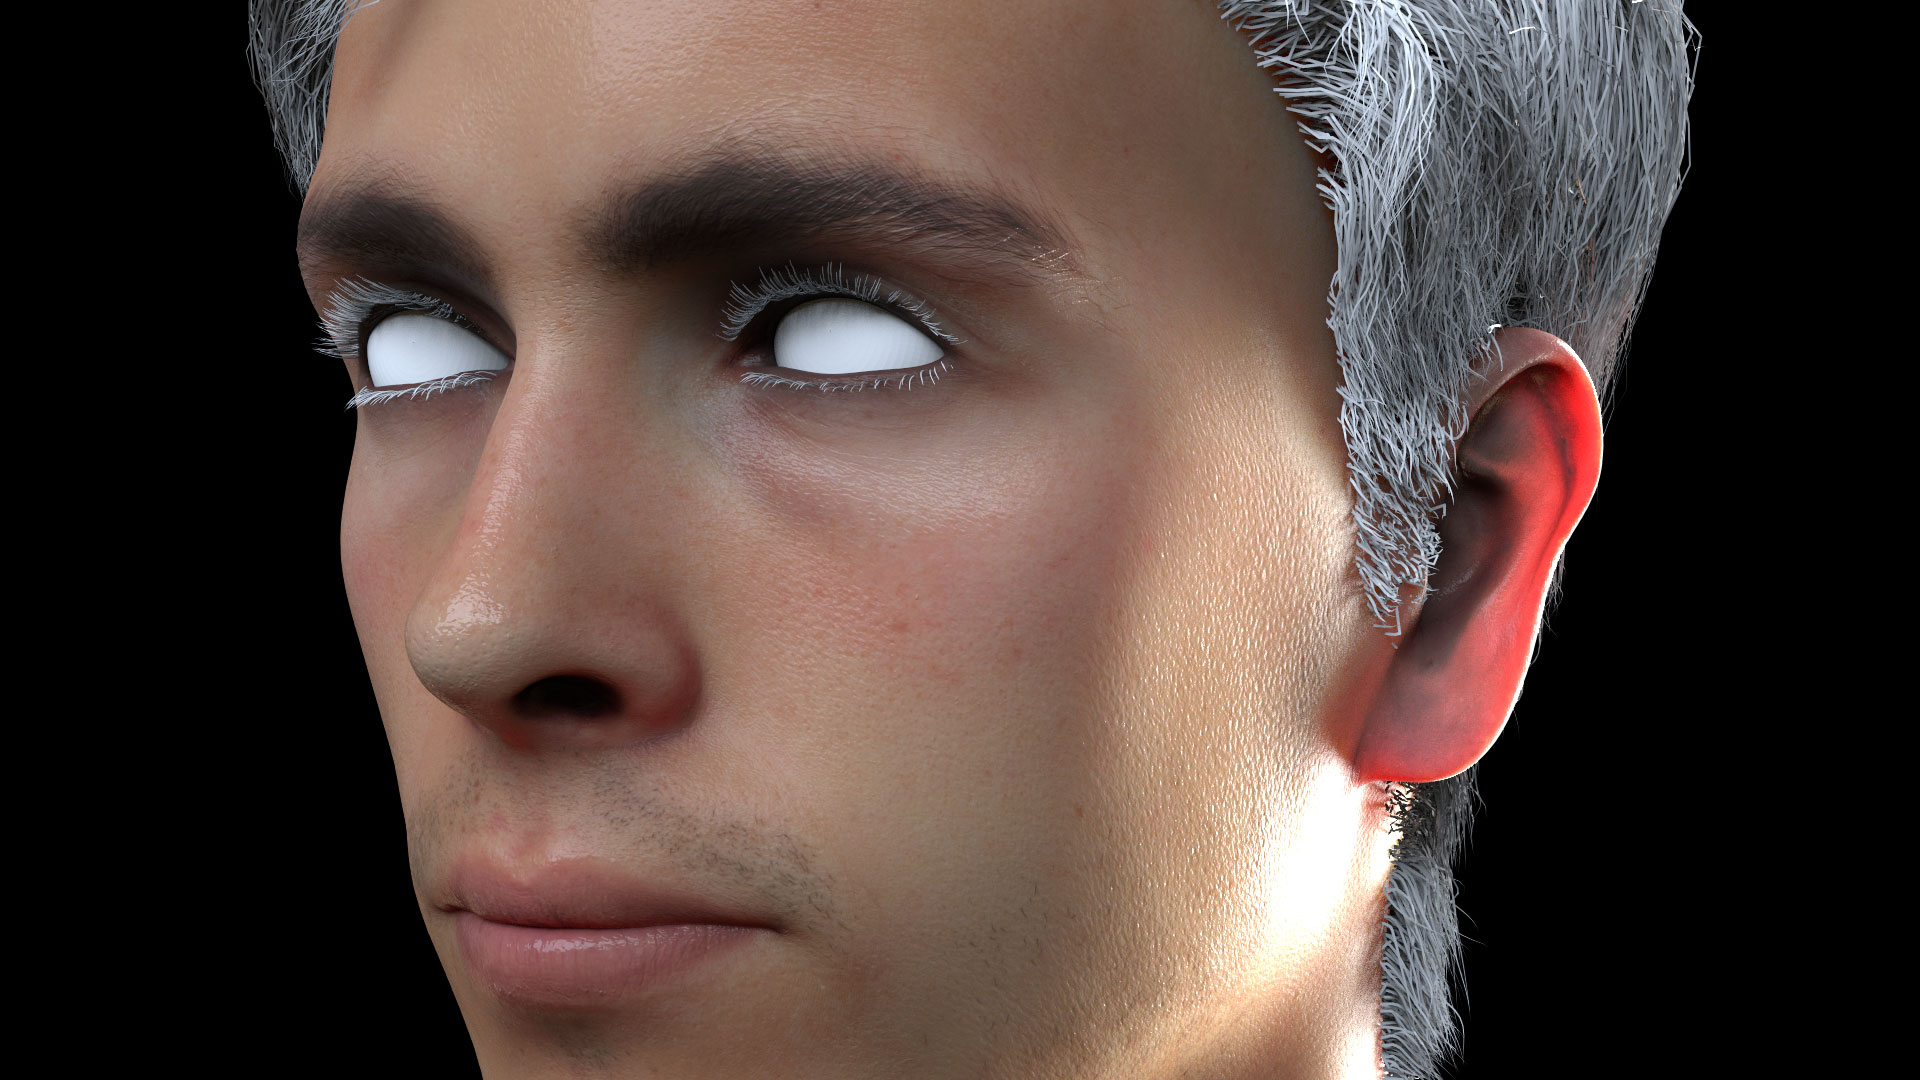
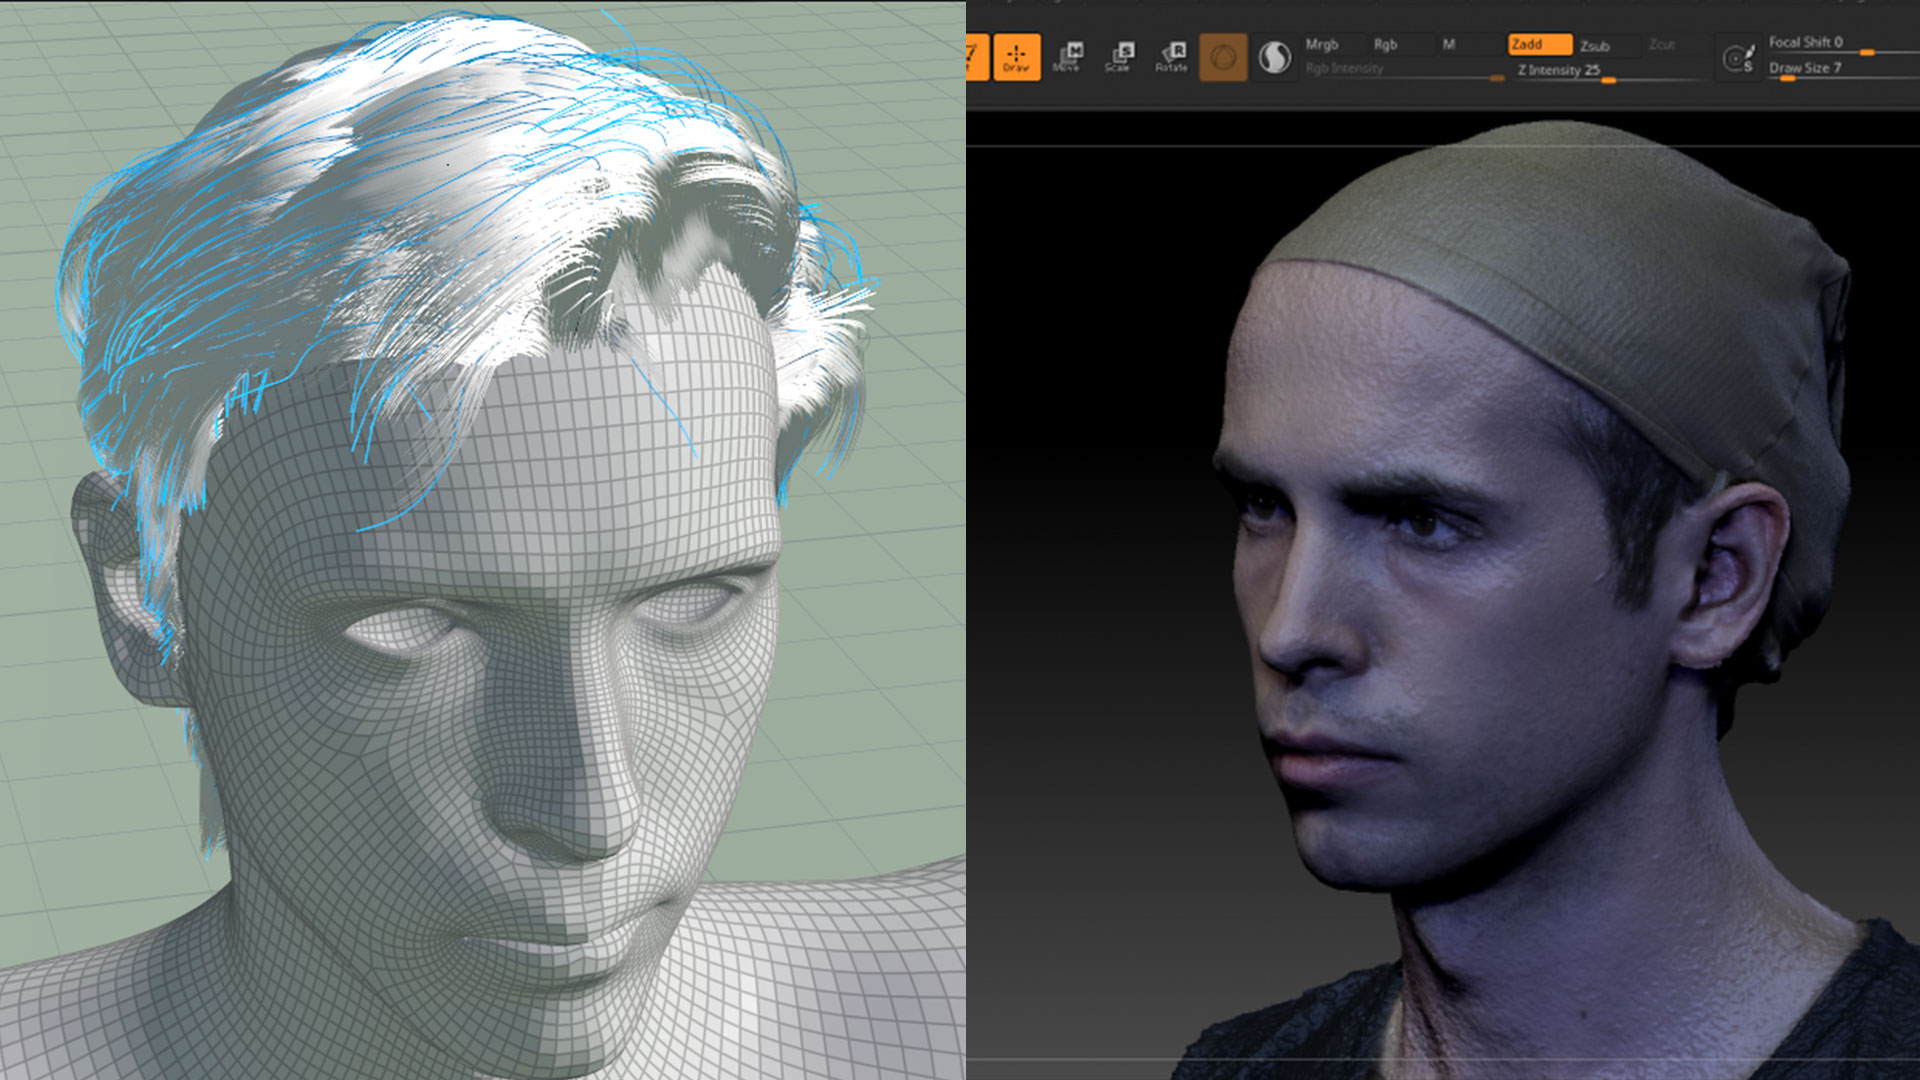
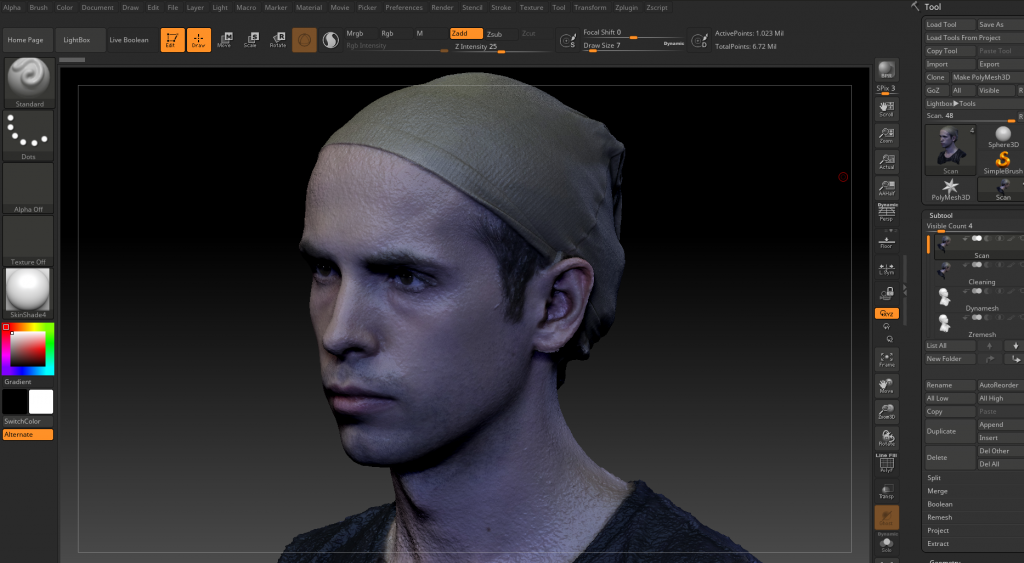
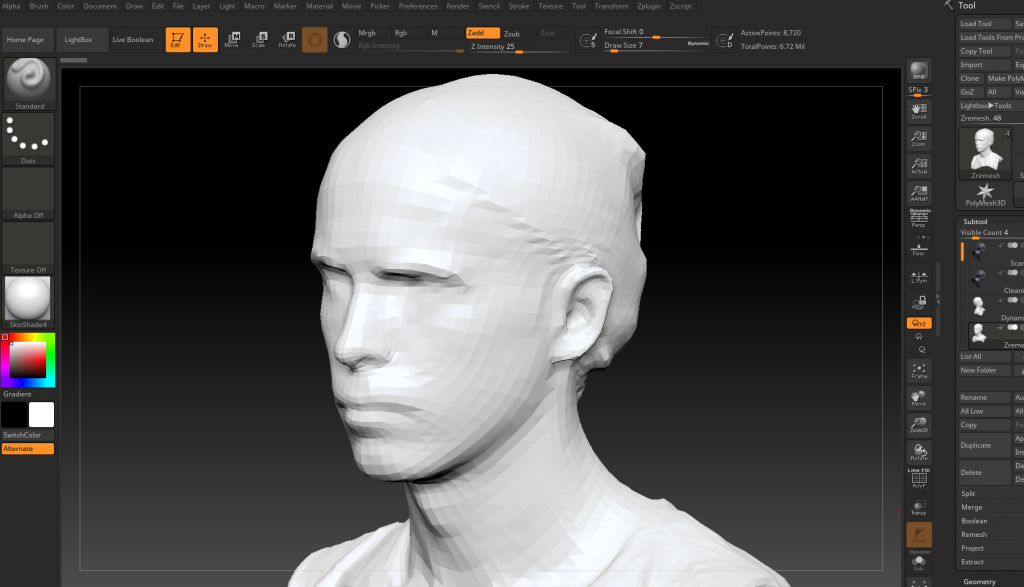
Step 7. Hair Modelling and Grooming in Houdini
Based on my industry background and also the research I did, there are two major tools to develop a realistic human hair: Xgen tools in Maya and Hair Grooming tools in Houdini. I had worked with XGen on a couple of projects, including Niki character for Kara Technologies. The creation and grooming process for a realistic hair in XGen is fairly fast and efficient but when it comes to animation and dynamic simulation, XGen becomes very cumbersome, full of bugs and creates a lot of unpredictable problems.
© 2018 Kara Technologies Ltd.
Considering all the issues I experienced working with XGen and also as I am already using powerful Houdini for the great range of simulation and effects in Stella project, I decided to experiment the newly introduced hair grooming tools in Houdini. The results has been very successful both in modelling and grooming progress but also in hair simulation and dynamics. This is the hair modelling and grooming procedure I went through in Houdini:
- Select the faces that hair requires to grow and group them
- Use “Add Fur” shelf icon to create hair network
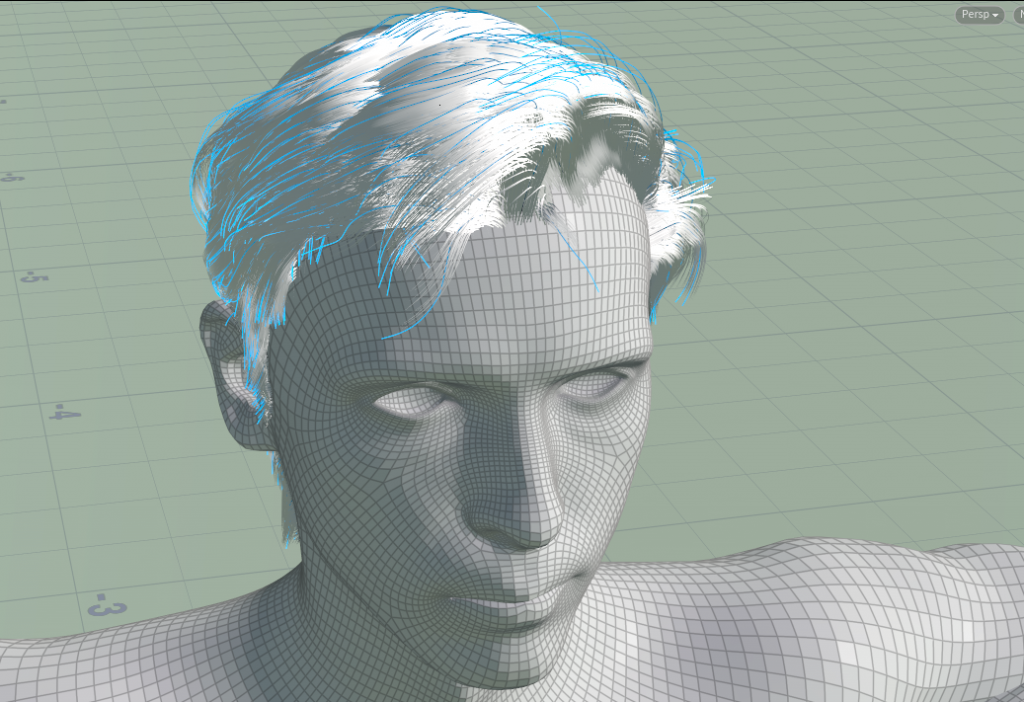
- Inside Groom node: add a guidegroom and cut everything out. Start adding them one by one using “Plant Guides” then reshape them and populate the head.
- Cut, lift, brush, climp and part hair guides to the desired shape
- Inside Groom note, at the end of the guidegroom nodes, add reguide and increase the number of guides
- Then add guidecollidevdb to make them lift from surface more
- Then groom the guides again a bit
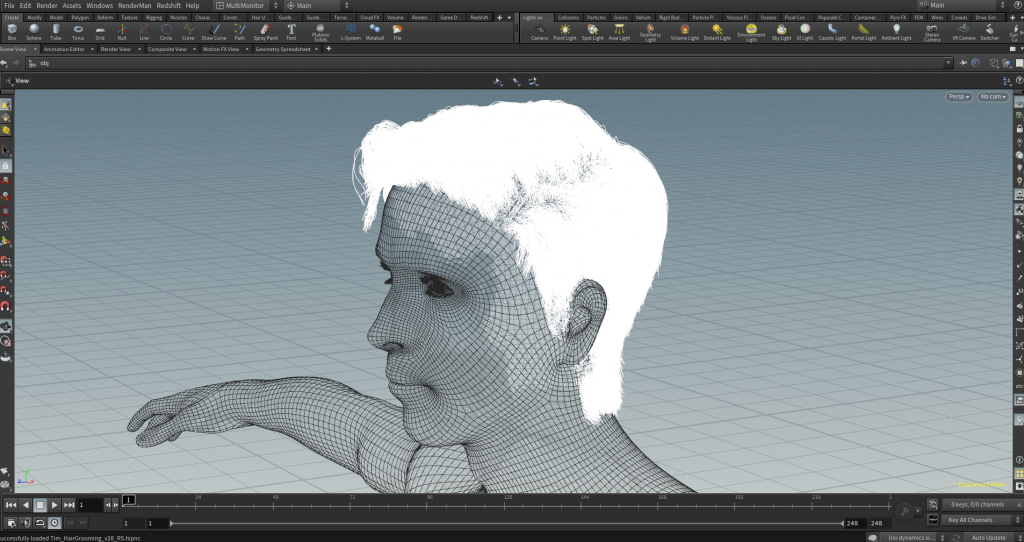
- Inside Hairgen node start with hairclump
- Then add Frizz, Set Lift and other needed guideprocess
- On the master Hairgen node, in Render tab, switch the first popup menu to “Use SOP Geometry”
- In Redshift render setting under Redshift tab then under System tab, increase Hair Tesselation
- Add Whitehair at the end if needed