I finally made a tough decision by migrating my core 3D pipeline from Maya to Houdini. The major reasons were: first I have a great amount of simulation based visual effects so constant travelling between Maya and Houdini could be cumbersome and second, the hair system in Maya, which is called XGen, is very inefficient and full of unknown bug, especially when it comes to simulating hair dynamics.
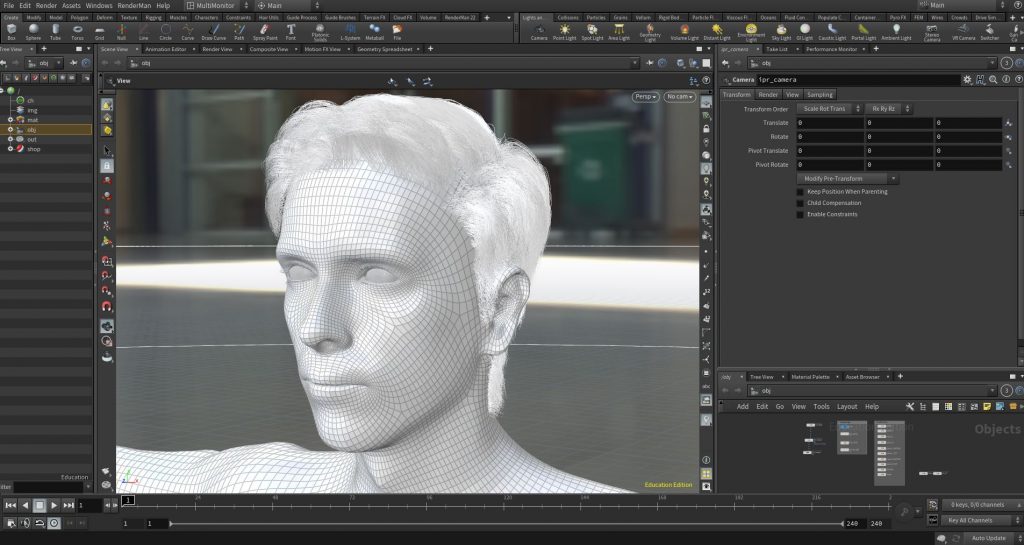
The second major decision after migrating to Houdini is which render engine I have to choose for rendering my project. This decision has to be made early on as all the materials, shaders and lighting setup has to be developed accordingly in the early stages of the production.
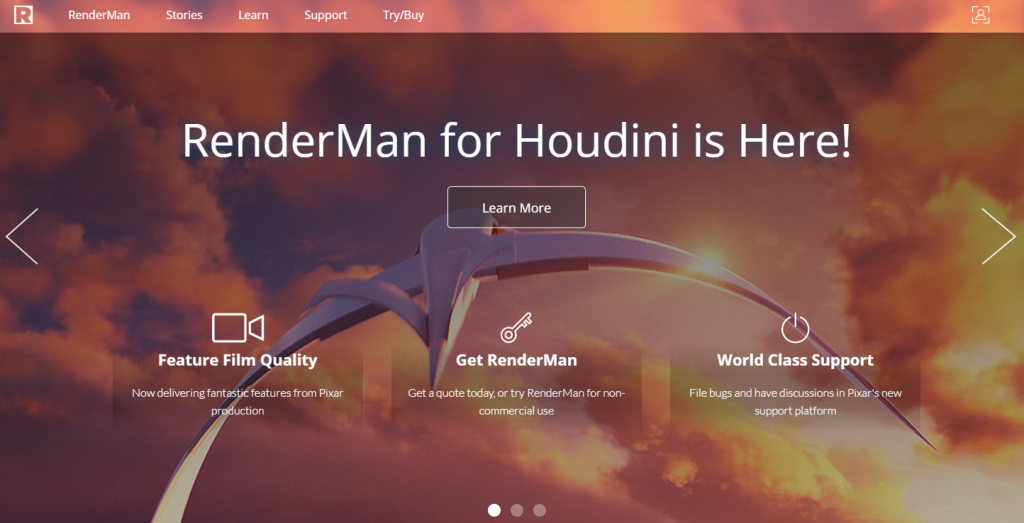
Renderman 22.5
At the beginning of 2019, Pixar, the animation company behind some of the most successful 3D animations announced the release of a new version of Renderman, their flagship render engine. Renderman has been used in multiple large visual effects productions. The interesting part of this announcement was a new Houdini integration.
I have worked with Renderman more than 10 years ago but at that time I found it very complicated and slow. It was a solution mainly developed for large production houses with a dedicated render team rather than independent or small scale freelancers. But after 10 years, a lot of new developments has been done to make it more available for individual CG artists. One of the major overhaul on Renderman was the integration of PBR (Physically Based Rendering features).
Renderman has already been used in a couple of Digital Human projects, like Blade Runner 2049, so I decided to explore the main features of this render engine for Stella Project.

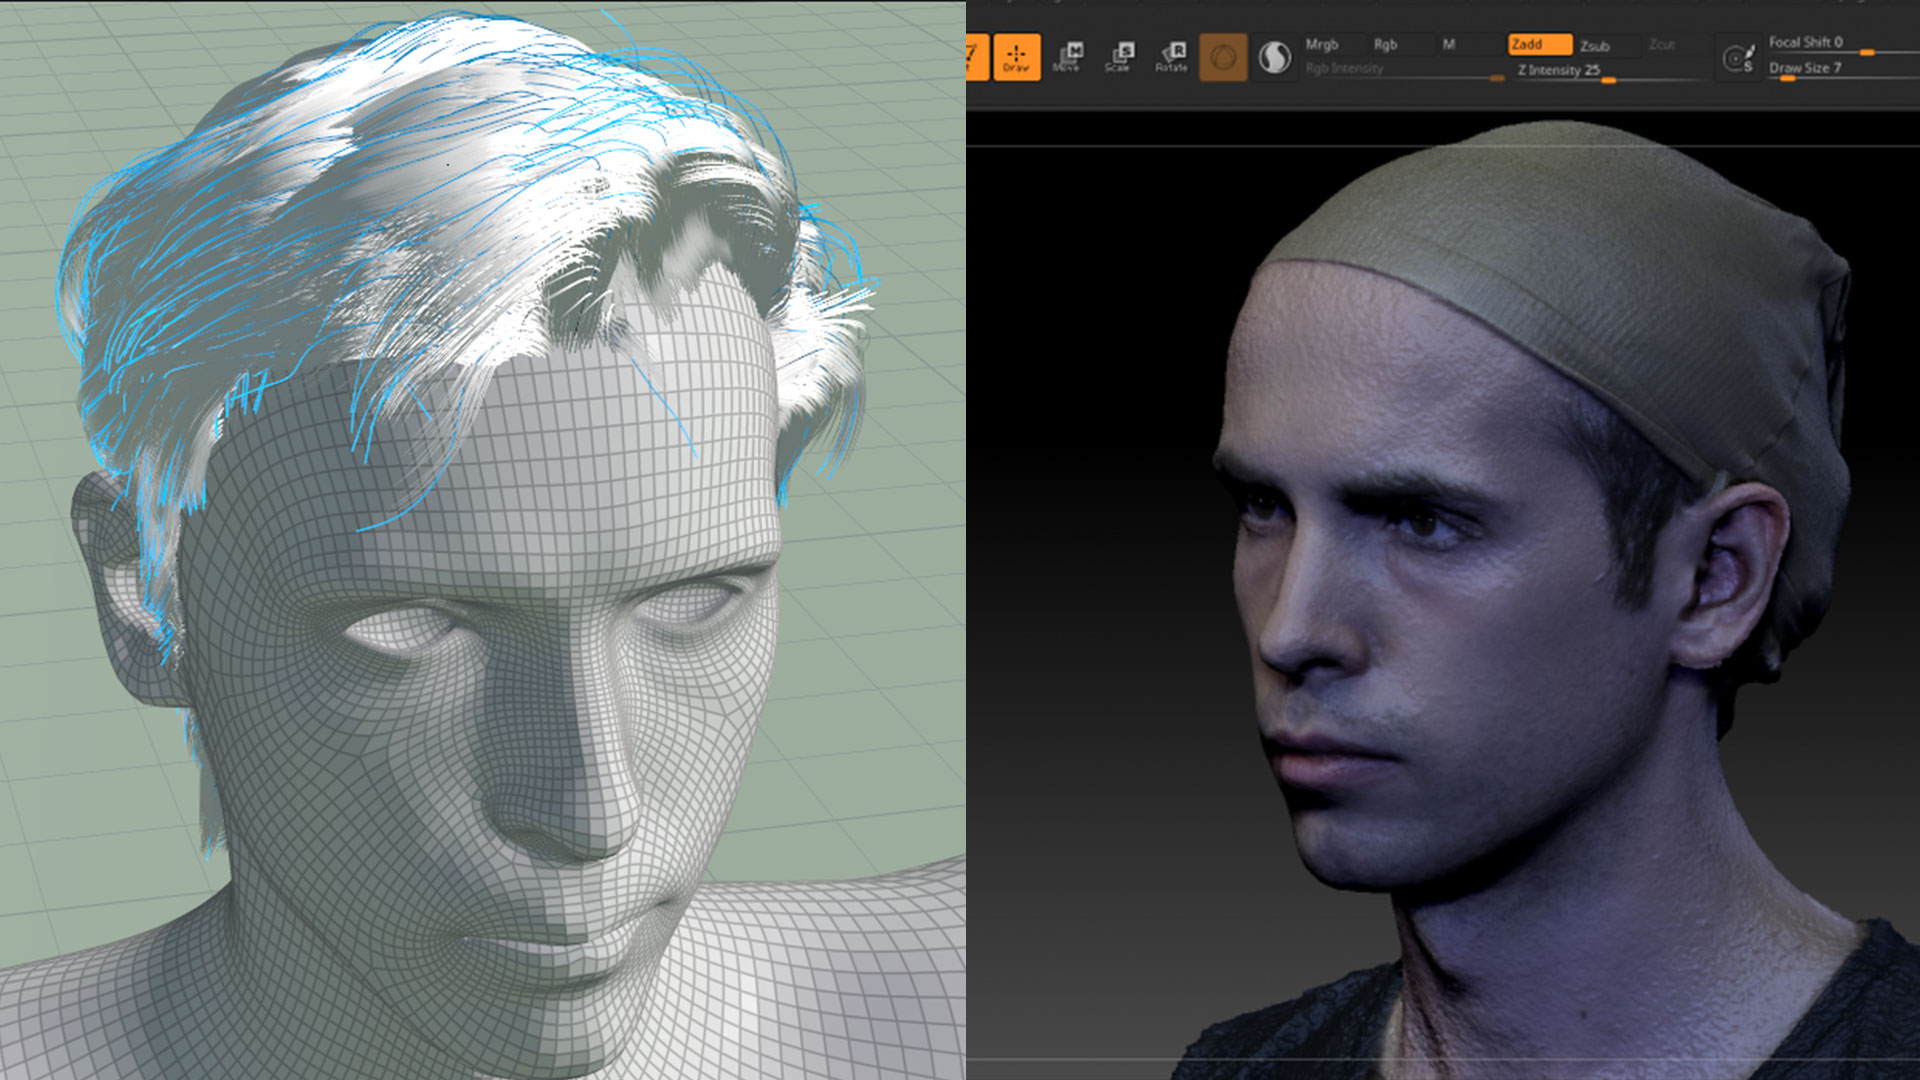
I followed a very detailed tutorial on shading and lighting of a digital human from below link:
https://renderman.pixar.com/louise
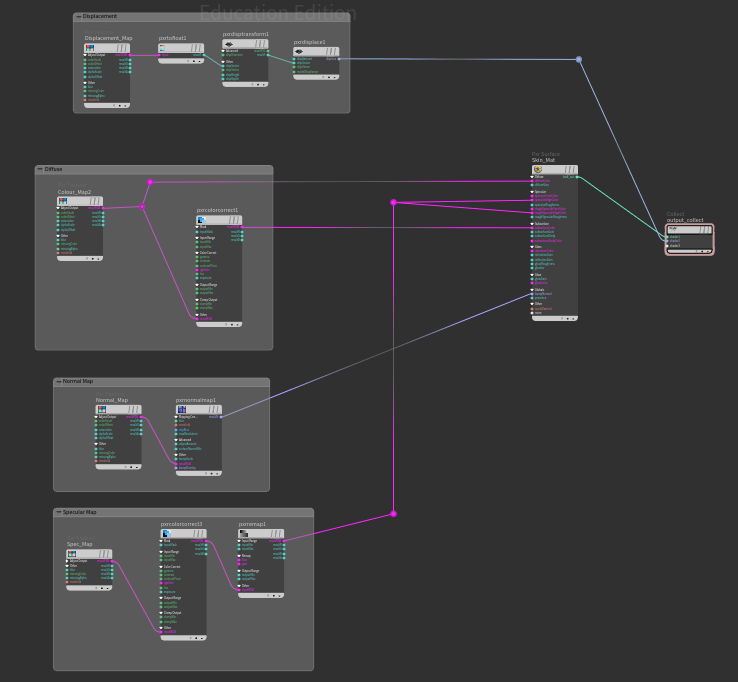
This step by step tutorial is provided by Eisko, a Paris based photogrammetry company specialised in scanning humans. I created a complex network for my skin material. The main skin shader uses PxrSurface shader and four groups of textures construct major features of: displacement, diffuse, normal map and specularity .
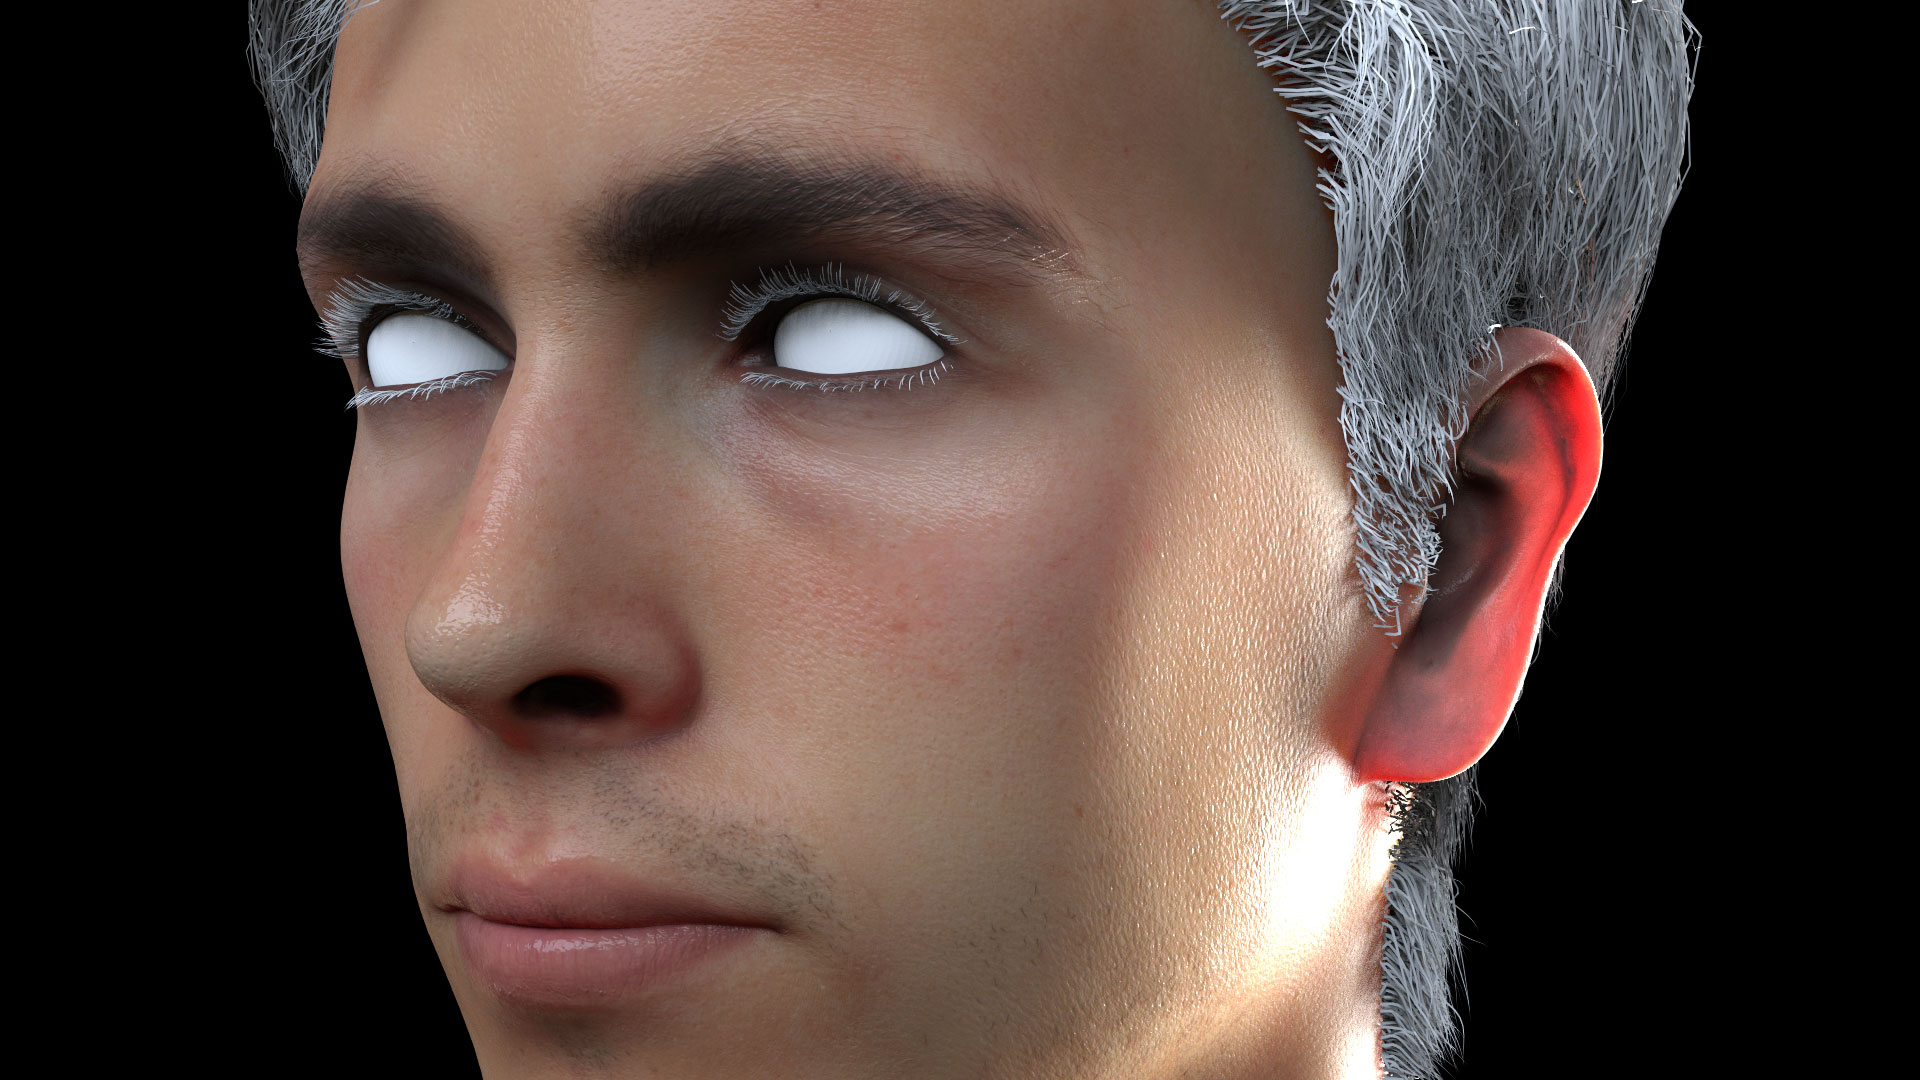
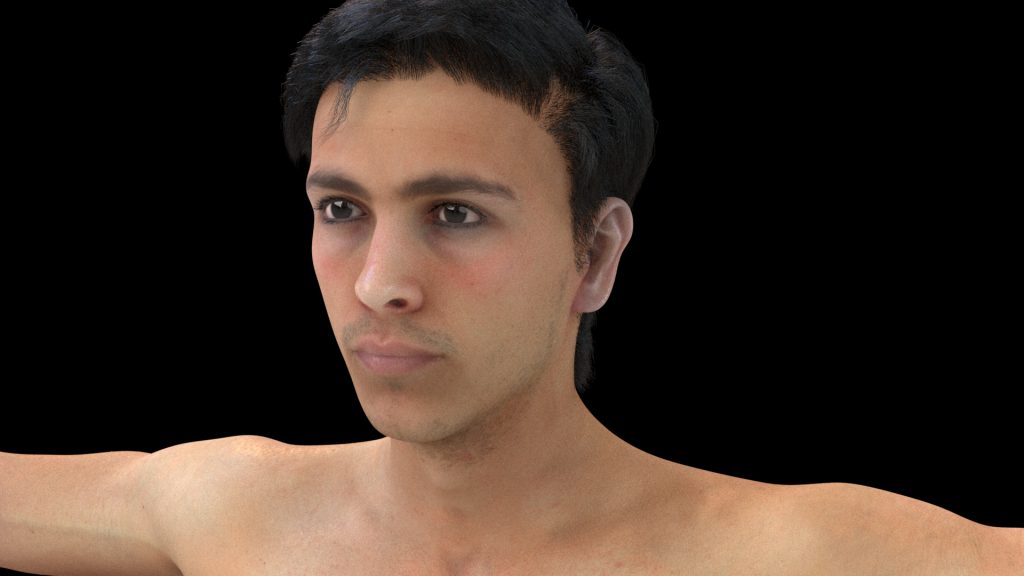
Even though I read and analysed most of the provided guidelines, I still find it cumbersome to achieve the result I want in a reasonable time. In another word, the “start to first result” time is long and not efficient. Below you can see what I achieved after more than 3 days of wrestling with Renderman.
As I found, the pros of using Renderman are:
- It has a very good raytracing which is visible in character eyes.
- The new Marchner Hair Shader gives nice results out of the box.
- The documentation and learning resources are abundant.
And the cons of using Renderman are:
- It is too noisy. To be able to remove noises, rendering time increases dramatically.
- Sub Surface Scattering (SSS) takes a lot of time to be adjusted.
- All textures has to be converted to .tx format and this conversion takes too much time.
Redshift 2.6.43
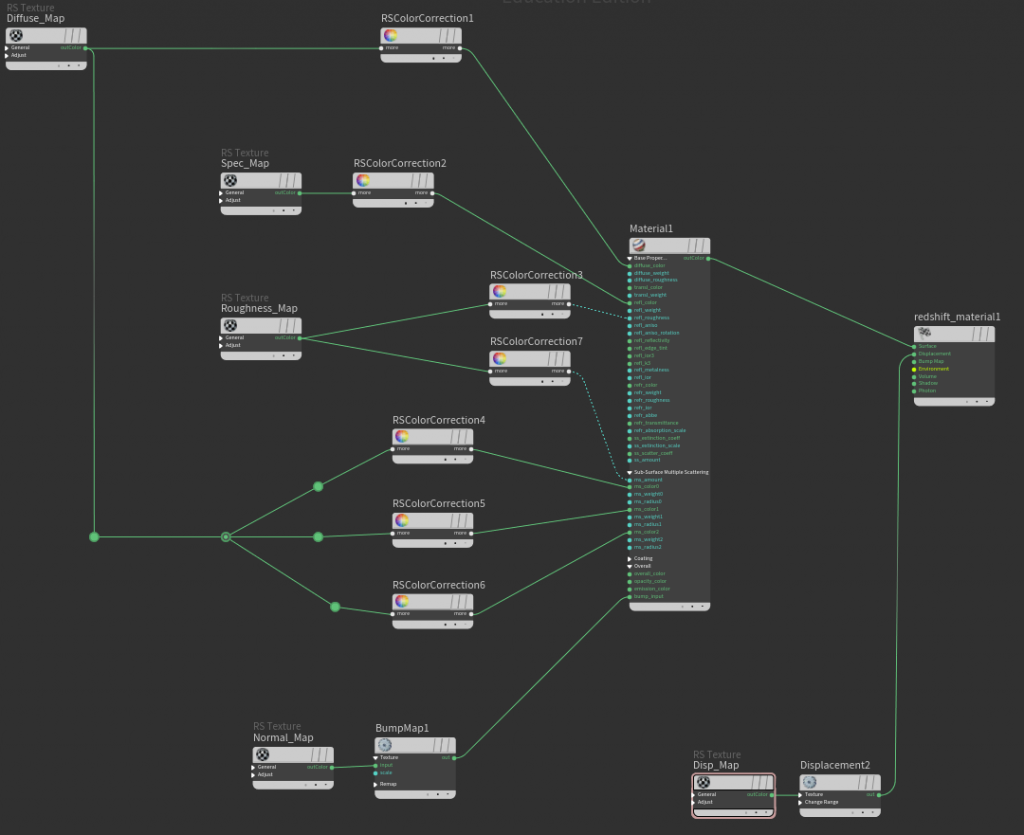
Redshift has been my favourite render engine since the first time I used it on a large scale feature film project during my work at Cherry Cherry VFX in Istanbul. Redshift is an unbiased GPU based render engine that utilises accelerated graphics card processing power for rendering. It is much faster than most of current rendering technologies. To me the most important feature of using Redshift is the very short “start to first result” time duration. You can achieve an astonishingly good looking results after few adjustments. Below you can see that I basically re-assembled the same shading network I made for Renderman. I added Roughness map to the shading network this time as well. For Sub-Surface Scattering, I used the traditional method of combining “epidermal”, “upper dermal” and “lower dermal” layers of the skin to generate believable SSS skin material. As visible below, I actually used the same diffuse map and colour corrected it three times in three different colour tones to simulate different layers of skin.
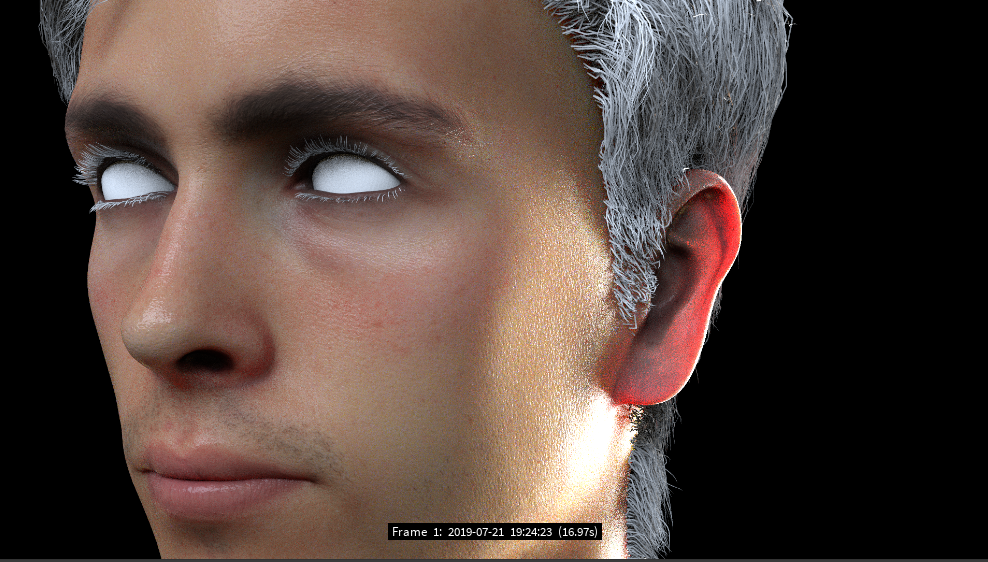
Below you can see the very first test render results after less than a day! of working with Redshift. As you can see, Redshift is very sharp and noise free. Moreover, it is very fast. What takes minutes to get rendered in Renderman, will only take few seconds using Redshift.
As I found, the pros of using Redshift are:
- It is exceptionally fast.
- It is almost noise free so achieving sharp results is much less cumbersome.
- Leaning curve is quick. A lot of complicated technical settings are being kept under the hood and the interface is designed mostly for creative artist use rather than technical directors.
Conclusion
Considering the efficiency, quality and simplicity of Redshift, I decided to acquire it for Stella project.